Through utilization of the Windows Subsystem for Linux (WSL) compatibility layer, it’s now possible to install Linux in a Windows environment. WSL is a feature in Windows 10 that enables users to run native Linux command-line tools, Bash, and other tools previously not available. The feature was designed primarily for developers, gives Windows 10 added versatility, and presents an alternative option to virtualization. Below is a detailed guide on how to get WSL up and running.
What is WSL?
The Windows Subsystem for Linux (WSL) is a powerful feature in Windows 10 and Windows Server 2019 that allows users to run a full-fledged Linux environment directly on their Windows machine without the need for a virtual machine. By enabling WSL, you can execute Linux command-line tools, utilities, and applications natively, providing a seamless integration of Linux capabilities within the Windows ecosystem.
WSL bridges the gap between Windows and Linux development environments, making it ideal for developers who need both operating systems. Whether you’re writing scripts, developing software, or just exploring Linux, WSL offers an efficient and straightforward way to use Linux functionalities on a Windows device. This integration enhances productivity by eliminating the need for dual-boot setups or separate Linux machines.
Install Linux as an App
Step 1: Enabling WSL Feature
- Open Windows Powershell as admin and run the following command:
- Enable-WindowsOptionalFeature -Online -FeatureName Microsoft-Windows-Subsystem-Linux


- Then Reboot when prompted
Step 2: Downloading Linux
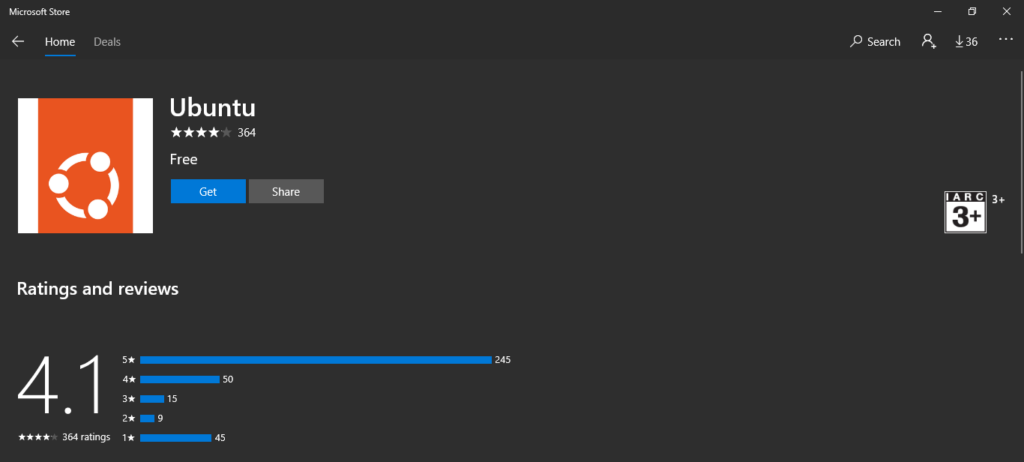
- Download the Linux app (e.g. Ubuntu) from the Microsoft Store and launch it once it completes.

Step 3: Account Creation
- Create a user account during the installation process (copy new credentials down!)

Step 4 Verify the Installation
- Run the command: “cat /etc/issue“ to verify the environment.

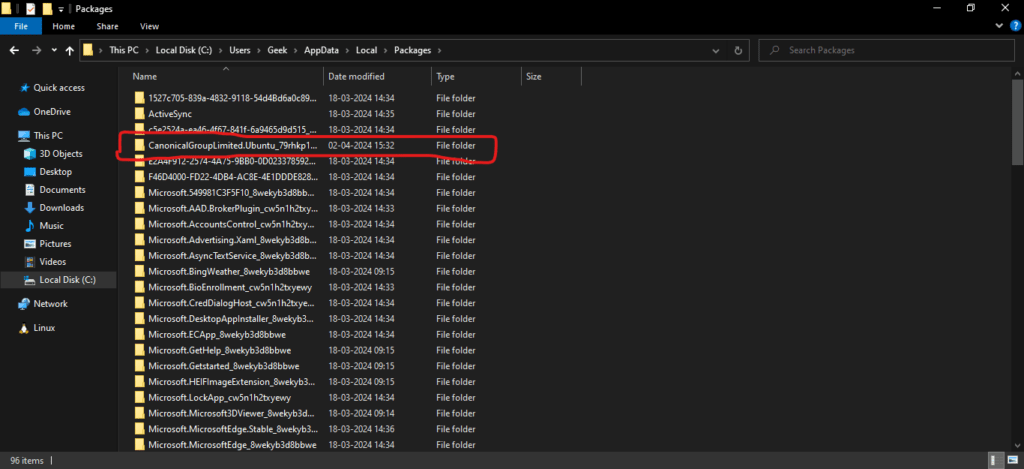
Step 5: Locating the Linux directory
- Locate the newly created Kali directory in Windows. This directory can typically be found at
- C:\Users\<youraccount>\AppData\Local\Packages\KaliLinux.XXX.
- To view this directory it will be necessary to reveal hidden items (view -> show hidden files).

Step 6: Excluding Linux from Windows Defender
- Copy the file path to the Kali directory (C:\Users\<youraccount>\AppData\Local\Packages\KaliLinux.XXX) and then add it as a security exception in Windows Defender (Windows Defender Security Center > Virus and Threat Protection > V&T Protection Settings > A/R Exclusions > Add Exclusion > Folder).
- It is important to point out that if this step is not accomplished before installing certain packages, Windows Defender is going to throw a fit and identify all the associated files as malicious. The most likely result is that Windows Defender will become overwhelmed and either begin crashing or working intermittently. Shown below is a brief snapshot of the alerts that the Metasploit-framework can generate if the exception is not added first.
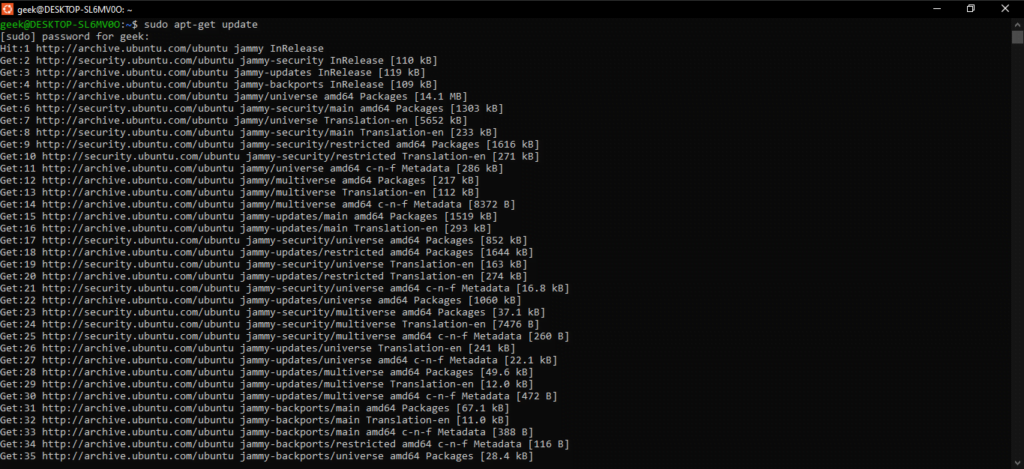
Step 7: Updating the Linux system
- Run the command: “sudo apt-get update“

- Run the command: “sudo apt-get dist-upgrade“.

- Now, you can begin installing packages as desired. For the sake of this demonstration Nmap, Wireshark, Hashcat, and the Metasploit framework were installed.
Final Thoughts
Installing Kali Linux as an app in Windows allows for the utilization of many useful tools that were not available previously. By running Kali through WSL as opposed to inside a virtual environment it is also possible to experience performance gains in processor-reliant frameworks such as Hashcat.
One of the drawbacks to running Kali via WSL vs. running it natively is that WSL does not support the use of raw sockets (A network socket that permits direct sending/receiving of IP packets without any protocol-specific transport layer formatting).

